Do you have a website for your business? Do you use Facebook to communicate with your customers (like we do)? With Facebook's customer chat plugin your website visitors can interact directly with your business without having to leave your site.
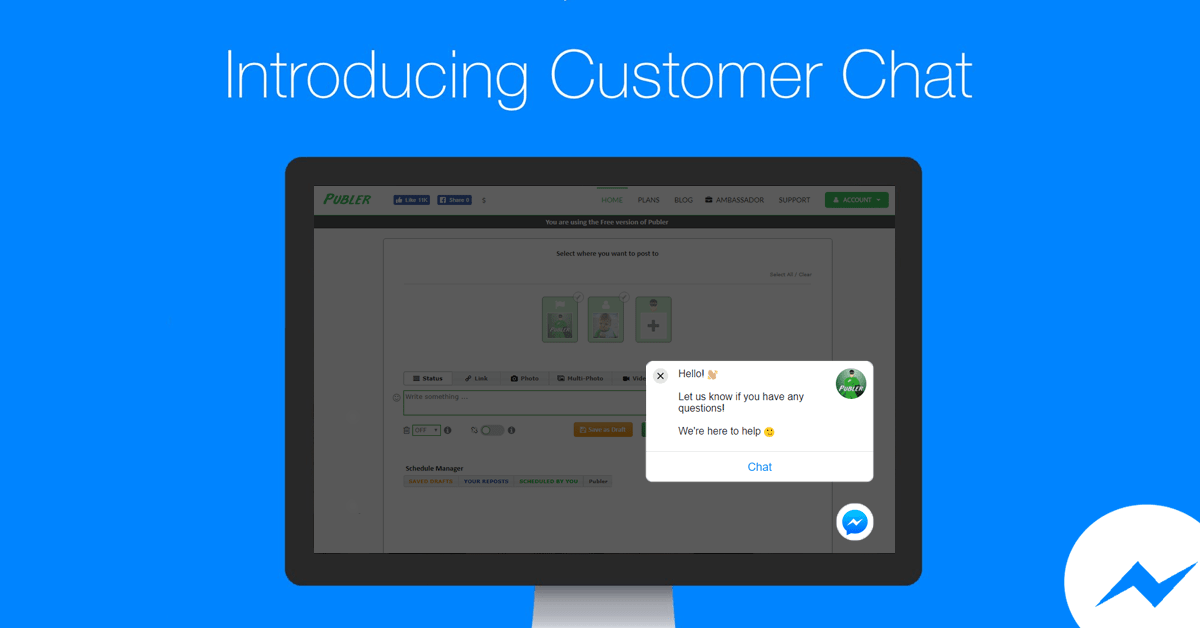
Even though the plugin is still in Beta, we decided to give it a try (don't hesitate to test it out on our site and say ?). Setting it up is very easy, fast and most importantly FREE!
The customer chat plugin automatically loads all recent chat history between the person and your business, regardless if the interecations were on your Facebook Page, on messenger.com, in the Messenger app, or in the customer chat plugin on your website. This helps create a single experience for your customers, and enables you to continue the conversation even after they have left your webpage.
How to add the Customer Chat Plugin to your website
(Assuming you do have a Facebook bussiness page and a website)
1. Whitelist the domain of your website
- Click Settings at the top of your Facebook Page
- Click Messenger Platform on the left
- Edit whitelisted domains for your page in the Whitelisted Domains section

- Add your website's domain and click Save
2. Create a Facebook App
No worries, you don't have to be a developer. You just need an APP ID to use for the Facebook JS SDK in step 3.
- Go to Facebook for Developers and click "Create App"
- Fill in the following form and click "Create App ID"
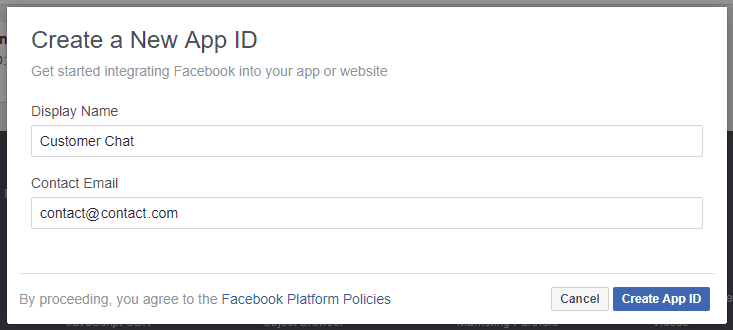
- You will be taken to your App page. Copy the number where it says APP ID
3. Include Facebook JS SDK
- Copy and paste the following code before the
</html>tag of your website - Make sure you replace the your-app-id with the App ID you copied in the previous step
<script>
  window.fbAsyncInit = function() {
    FB.init({
      appId            : 'your-app-id',
      autoLogAppEvents : true,
      xfbml            : true,
      version          : 'v2.11'
    });
  };
  (function(d, s, id){
    var js, fjs = d.getElementsByTagName(s)[0];
    if (d.getElementById(id)) {return;}
    js = d.createElement(s); js.id = id;
    js.src = "https://connect.facebook.net/en_US/sdk.js";
    fjs.parentNode.insertBefore(js, fjs);
  }(document, 'script', 'facebook-jssdk'));
</script>
4. Include the Facebook customer chat plugin
Finally, to add the plugin to your webpage
- Include a
divwith the following attributes in your HTML - Make sure to replace the PAGE_ID with your Facebook Page ID which can be found here
<div class="fb-customerchat"
 page_id="PAGE_ID"
 ref="OPTIONAL_WEBHOOK_PARAM"
 theme_color="HEX_COLOR_CODE"
 logged_in_greeting="GREETING_MESSAGE_FOR_LOGGED_IN_USERS"
 logged_out_greeting="GREETING_MESSAGE_FOR_LOGGED_OUT_USERS">
</div>
ref, theme_color, logged_in_greeting, logged_out_greeting are all optional, but can help you personalize and make the plugin blend in with your website. For a complete list of attributes, see the Customer Chat Plugin reference
That was it. You should also be able to set up automatic replies and other AI stuff, but we haven't gone that deep into it yet. If you have any questions or have troubles adding the plugin to your site, don't hesitate to contact us chat with us ?.